
MARKER RODS
Marker Rod Set-Up
The marker rod set up can be one of the most valuable tools to the Carp Angler. Its purpose is the same as that of a feature finder - to give you an idea of what lies beneath the surface of the bed of the lake or river and to determine the depth of the water that you are fishing and the possible locations of fish.
The knowledge that can be obtained by spending some time in a swim with a marker rod can really pay dividends and can make the difference between a session catching fish and one just sitting on the bank. From the bank side the lake or river may look pretty much the same, but beneath the surface things can be a very different picture.

Why Use a Marker?
Showing up to a venue and ‘chucking and chancing it’ is not usually a practice followed by successful Anglers. You can occasionally fall upon the fish but this method of ‘fishing’ is severely limiting your chances to just plain old luck. Plonking yourself down at the nearest swim to the car park so you don’t have to walk quite so far might not be the recipe needed for success!
If you want to catch big fish, you will first have to locate them and this will mean putting in some work. Finding drop-offs and shelves, gravel bars and patches of weed etc. can all help to build up a picture of the bed of the lake that you are fishing. This in turn can give you an idea of the best location for your bait.
There are certain features that the fish will find attractive and certain parts of the lake bed that will be regular feeding zones or ‘hotspots’ for the fish.
A clear patch within weed may be a regular feeding spot on a worm bed that is regularly visited by the fish. A shelf at the edge of the margins where deeper water is present may be a safe patrol route for the fish. A shelf on the West side of a lake may be a morning patrol route due to its temperature being elevated quicker than that of other parts of the lake because of the morning sun.
There are countless reasons why fishing to a feature will be productive… but you have to know the location of the feature!
The Marker rod is a purpose-built piece of equipment, designed specifically for the job. It is usually at least 12ft in length and benefits from having a sensitive tip. This is the indicator that you will use along with the ‘feel’ of the rod to determine the nature of the lakebed.
Braid is recommended over monofilament for the line to be used, as braid will translate the vibrations of the lead directly to your Marker rod tip as it is pulled along the surface of the lake bed much more accurately.
A good sturdy marker float is advised as they can take a bit of a beating after a while. In general, you will also need a minimum of a 3oz lead. The purpose of the lead is not only to cast the marker out but also to translate the contours of the lake bed through the braid and then back to the rod tip. A lighter lead will not be able to perform this function so well as the float, which will be quite buoyant, will also be submerged when ‘leading around’.
Therefore, you need a good size lead to hold bottom. There are several leads available on the market and many Anglers are using the ‘gripper’ style for their marker float set up. They do the job very well as do the specialist marker leads available from companies.
Some general things to look for are:
- A smooth retrieve with little resistance would be silt.
- A smooth retrieve with firm resistance is usually some form of blanket weed.
- A retrieve where the rod tip ‘knocks’ or ‘bumps’ usually indicates a gravel patch.
- A relatively smooth retrieve followed by intermittent ‘bumps’ can indicate a sandy bottom.
- A hard-slow retrieve usually indicates thick weed and a non-moving retrieve indicates trouble, and a snag!!
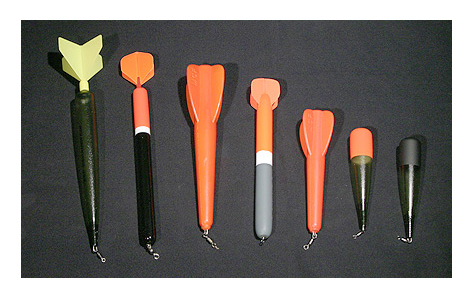
+ MARKER FLOATS
There are several marker floats available on the market today and they come in all shapes, sizes and colors for distance usage, visibility in different light conditions and buoyancies when fishing in weedy conditions.
They do however all perform relatively the same function so your choice of marker will be one of personal taste as well as that of the conditions of use.
They do get quite a bit of abuse and so the better made ones are always a good option such as those from companies such as Solar Tackle, E.S.P., MCF, Nash, Korda and many others...
They do get quite a bit of abuse and so the better made ones are always a good option such as those from companies such as Solar Tackle, E.S.P., MCF, Nash, Korda and many others...
If you are fishing at range you will need a float that can be cast to distance efficiently so the larger more aerodynamic ones that are available will achieve this, such as the ESP & MCF models. There are smaller floats available also for closer range work.
They also come in a variety of colors that will aid in their visibility depending upon the light conditions available. It’s always a good idea to have a few handy as they are easily lost when fishing around snags and are an invaluable tool to have.
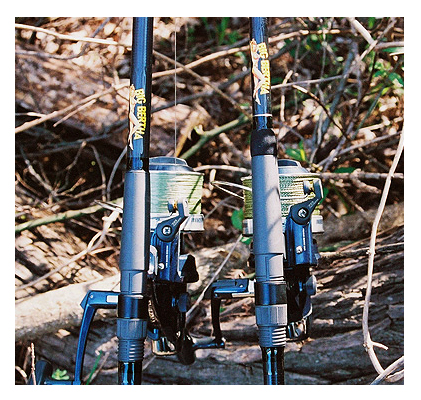
+ MARKER FLOAT ROD
Unless you need to use a marker float at great distances most sturdy rods will work for a marker rod (Though it is advisable even at short range for this rod to be a separate one to that which you are using to fish with).
However, casting a heavy lead and marker float at distance will require a heavier and specialized rod for the purpose, so if there is the possibility that you will be fishing in larger waters where these kinds of distances are required you will want to consider either a ‘purpose built’ or separate rod for the job. .
Again, as with the use of a spod rod, the constant cast and retrieval of a large lead and buoyant float that is required for long range work finding the features and contours of a swim will put a marker rod through a great deal of abuse. Make sure that you have the right tools for the job.
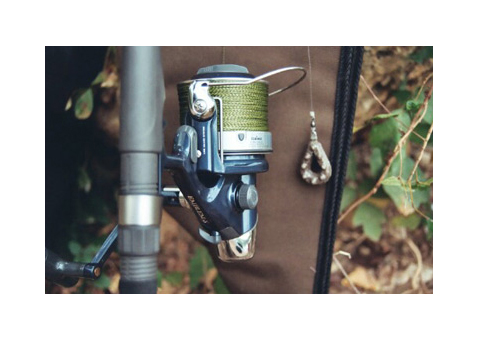
+ REELS
The same can be said for reels that are used with a marker rod set up as those that are used for a spod set up. Larger reels are preferable and again, make sure that the reel has a quality line clip system for ‘clipping up’.
The reel pictured below is a Daiwa, Emblem but there are now quite a few companies that produce excellent reels for Marker rods and Spodding.
Braid is recommended over mono for a marker rod set up, as it will translate every contour of the lakebed back to the rod tip. As with the spod rod set up be mindful of braid when casting, as it is prone to wind knots and tangles if not respected. A good mono shock leader is recommended as you can be using quite a heavy lead with a distance marker set up. The mono shock leader will also aid in assisting the braid from becoming tangled around the lead or swivel on the cast, which it can be prone to do.
A little time spent on the bank with a marker rod can mean the difference between a successful session and a blank.
+ How To Tie A Marker Float Rig
The 1st photo below shows all the component parts that are typically used. Pictured clockwise from the Marker Float itself, we have a quick release clip, mainline braid, plastic Slide Ring, cork ball and a trusty (or crusty) old 4oz lead weight.

As we mentioned earlier in this section above, the reel is spooled up with Braid, generally because of braid’s ability to transmit the vibrations and thus information from the bottom of the lake to your hands holding the rod then to your brain where your years of bank-side experience and study translates the information into useful fish catching data.
You can use a mono line but for this job, braid wins’ hands down due to its almost zero elasticity properties… it doesn’t stretch at all; mono does and so most of the vibrations and info you’re interested in receiving caused by you dragging the lead weight over the lake bed are absorbed along the length of the mono and so doesn’t get transferred to your hands holding the rod.
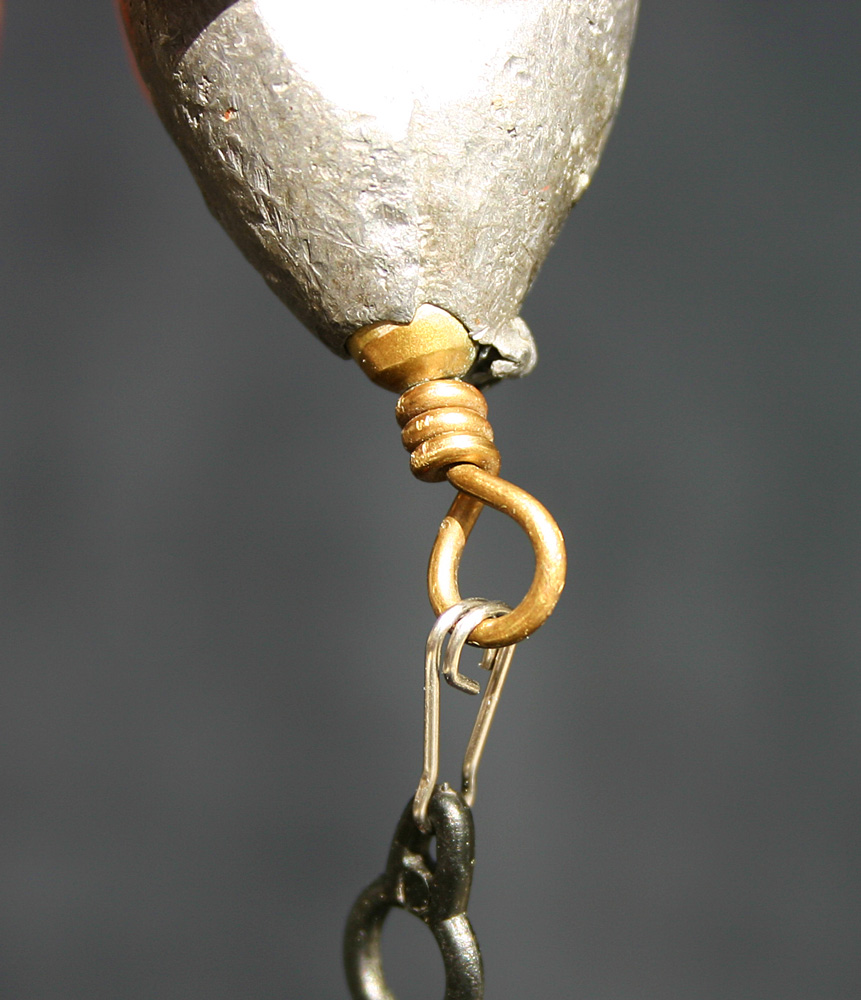
A great way to assemble this rig is as follows: Couple the quick-change clip and the Slide Ring together as shown.
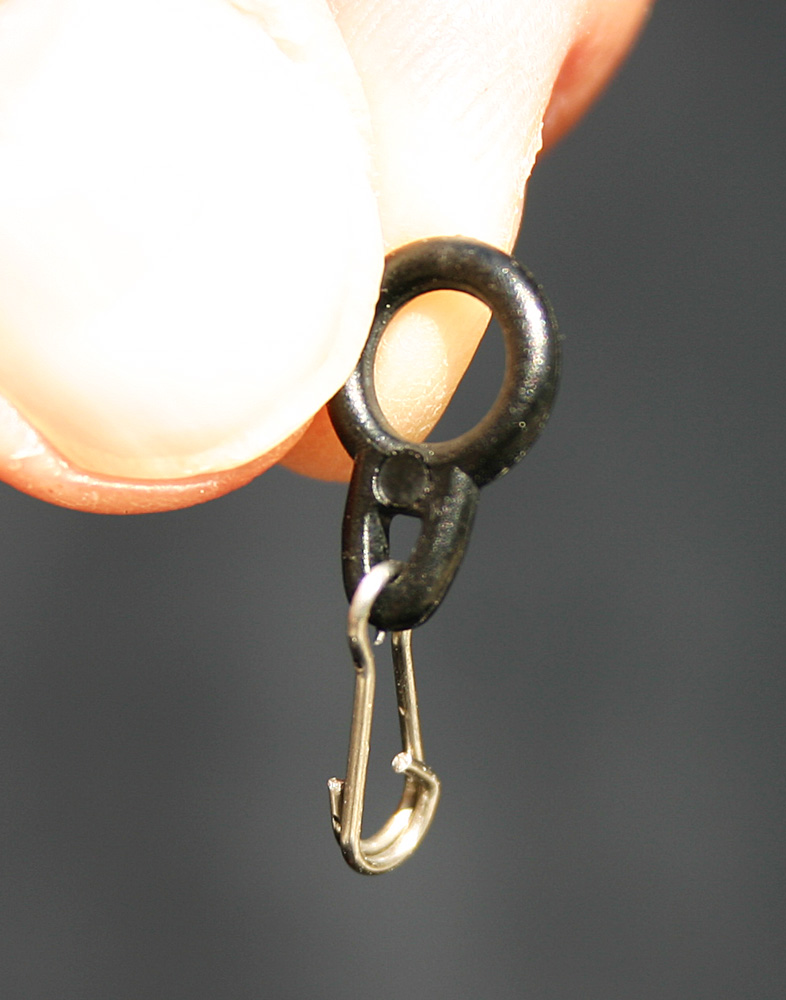
You could forgo using both these items and just thread the lead weight onto the braid directly but it’s advantageous to change weights quickly without having to retie the whole rig. Also, the large ring on the plastic slide ring ensures the braid glides through it very easily without excessive tangles etc. when you’re measuring depths with the Marker Float.
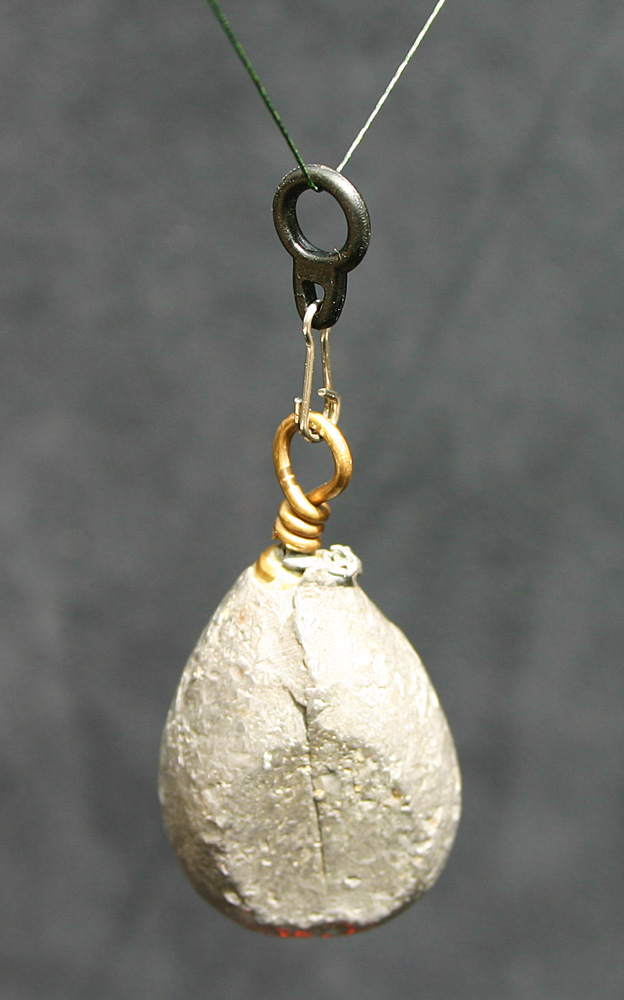
This photo that shows the lead weigh attached to the clip and ring.
Next thread your braid main line through the ring as shown...
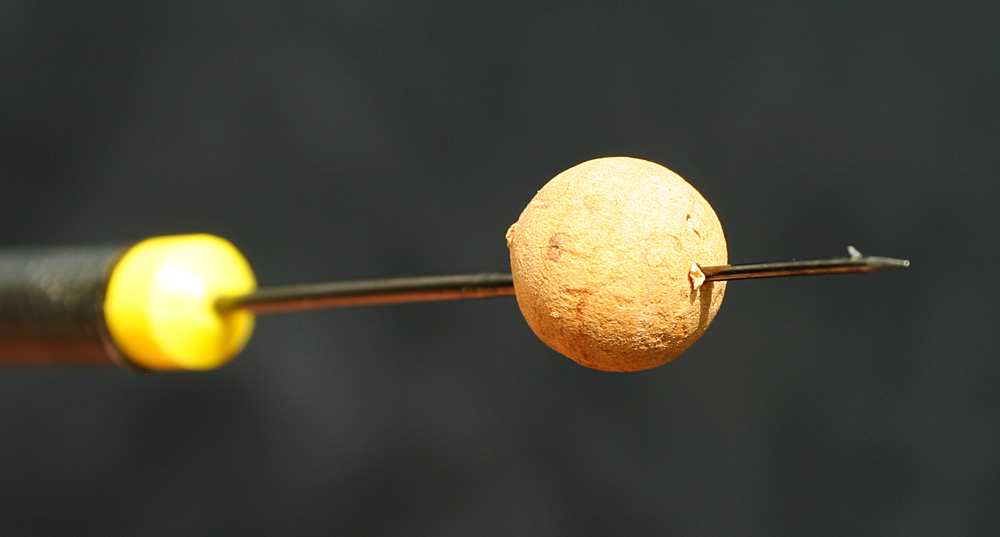
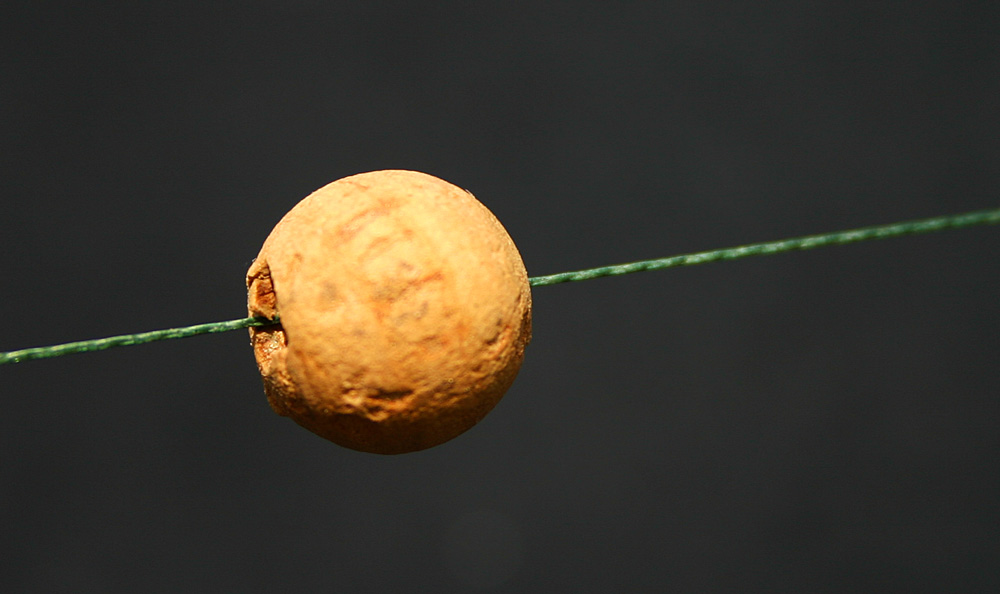
Follow this by threading a small cork ball onto the braid to protect the knot at the Marker Float from the sliding weigh. You can use a rubber bead but the idea of the cork ball adding to the overall buoyancy of the float is advantageous. The next three photos describe this process.
Carefully place the cork ball as centrally as possible onto your baiting needle…
Simply double over the end of the mainline braid, make a loop and snag the loop with the barb of you needle. Keeping the braid loop taught, gently slide the cork ball off the needle and onto the braid until you pass the doubled-up section of braid.
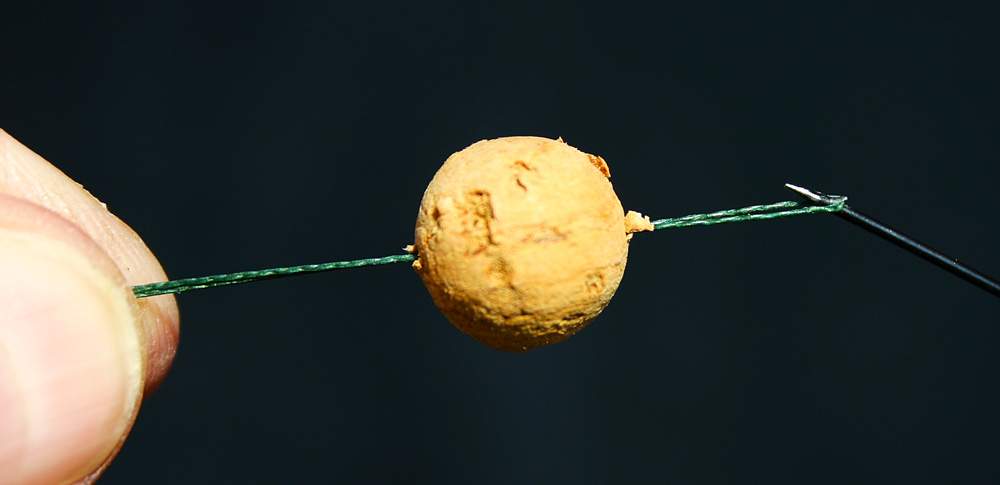
Here is the Cork Ball correctly threaded.
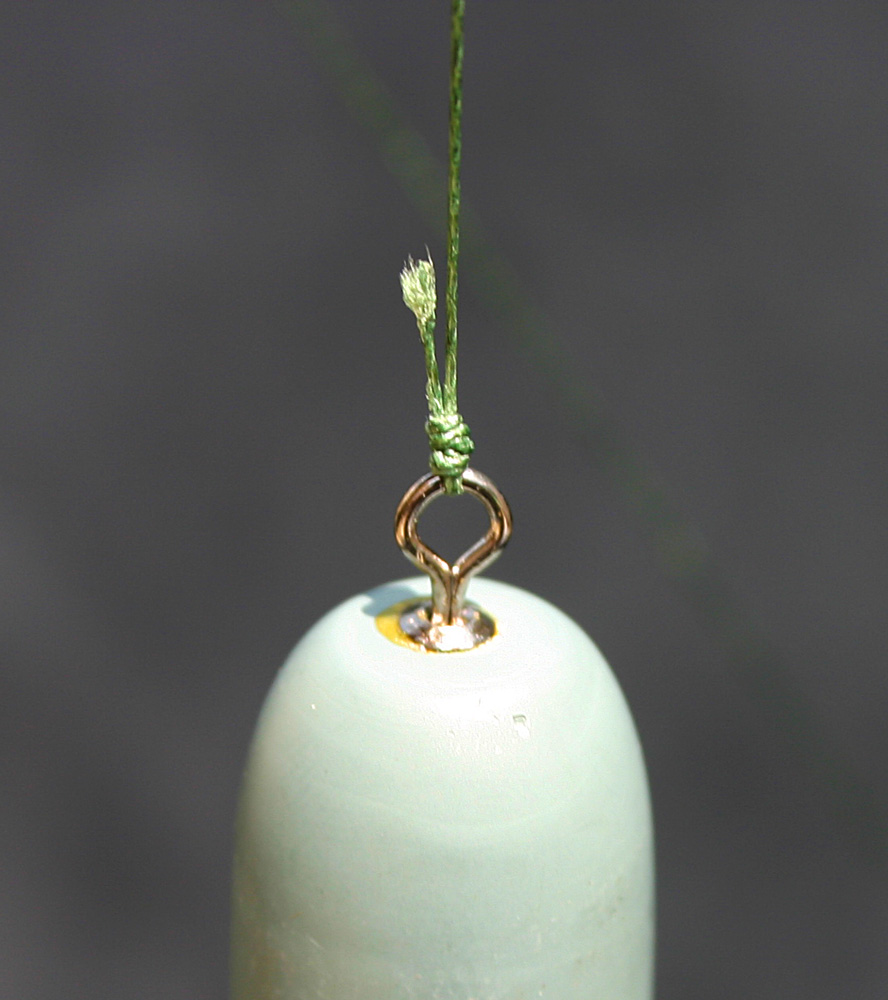
Now tie the end of your braid onto the Marker Float using your favorite knot, we tend to favor the 5 turn grinner for this job.
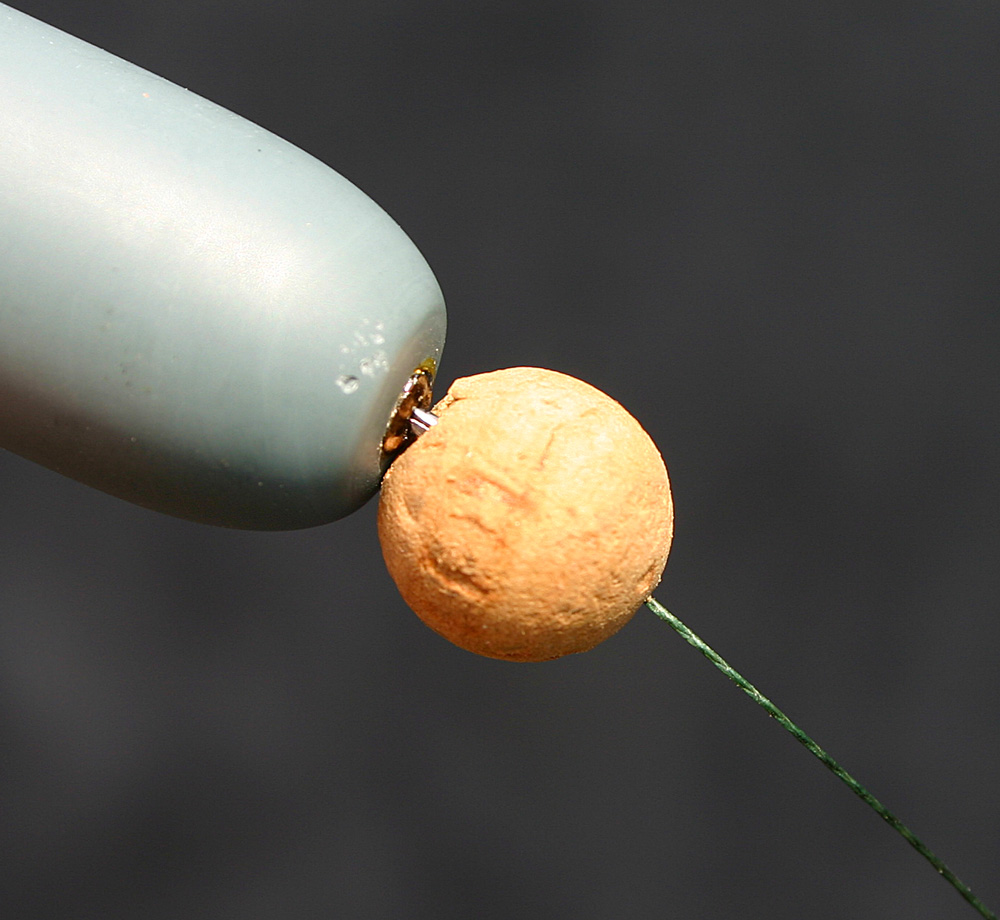
Lastly, very carefully push the Cork Ball onto the swivel at the bottom of the Float to protect the knot from the lead weight and the bottom of the lake/river.
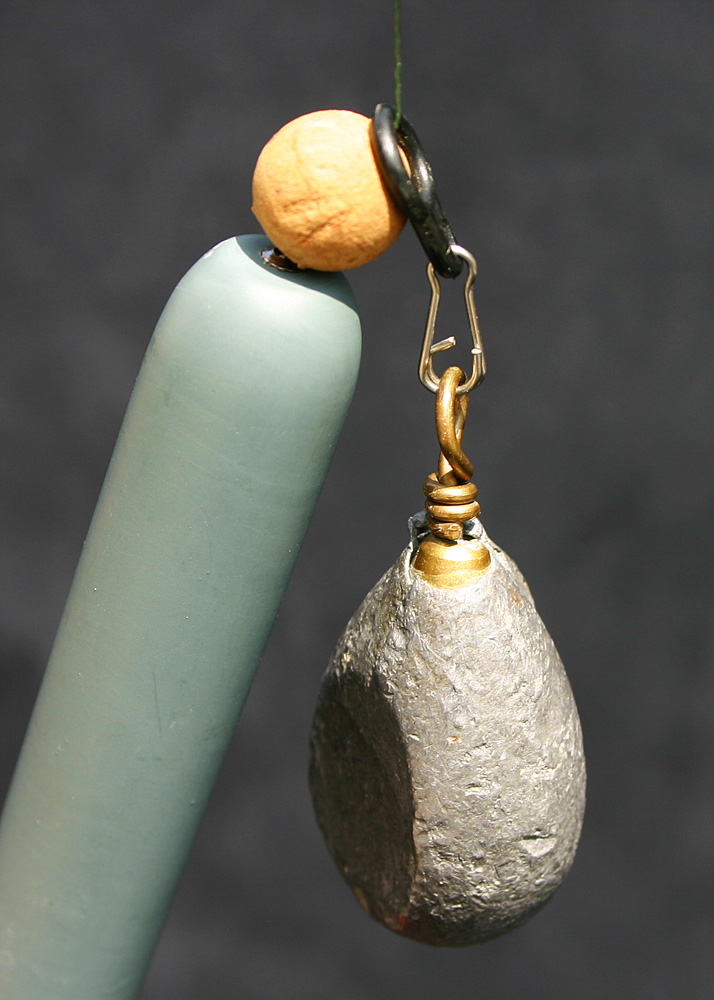
This last photo shows the final assembly of the rig. The correct use of this rig is surely one of the simplest and most cost-effective ways for you to find out about the depths and underwater topography in the swims you’re fishing.

A handy modification if you’re pulling the rig through thin layers of weed is to take the quick change clip off and replace it by tying a foot length of braid between the lead weight and the plastic slider ring.
Doing this helps keep the actual float out of the weeds, lessening both the chance of it getting snagged up when you’re checking the depth of the water and dragging the rig across the bottom checking out the sub terrain.